These Low and Slow Baby Back Ribs are really easy and take almost no babysitting. What makes these ribs ultra-easy is that you don’t need to wrap them. You just let them go 3-5 hours until you get the proper pull back on the ribs. These ribs are juicy with great texture.
Just a couple of quick notes. These are not the mushy fall of the bone ribs. Personally, I’m not particularly excited about fall off the bone ribs. If you want that texture, I would recommend doing a 2 lbs pork butt and do a pulled pork. It’s cheaper and better has the same texture.
When I choose our baby back ribs, I like to have some fat content on the top. It can be hard to figure out what ribs have the preferred thin layer of fat vs. a thick fat cap, but you can use your fingers to feel if the fat is soft or a little firm. A little firm is what you are looking for. This will give it a great pork belly like flavor, especially if you use a sweeter rub.
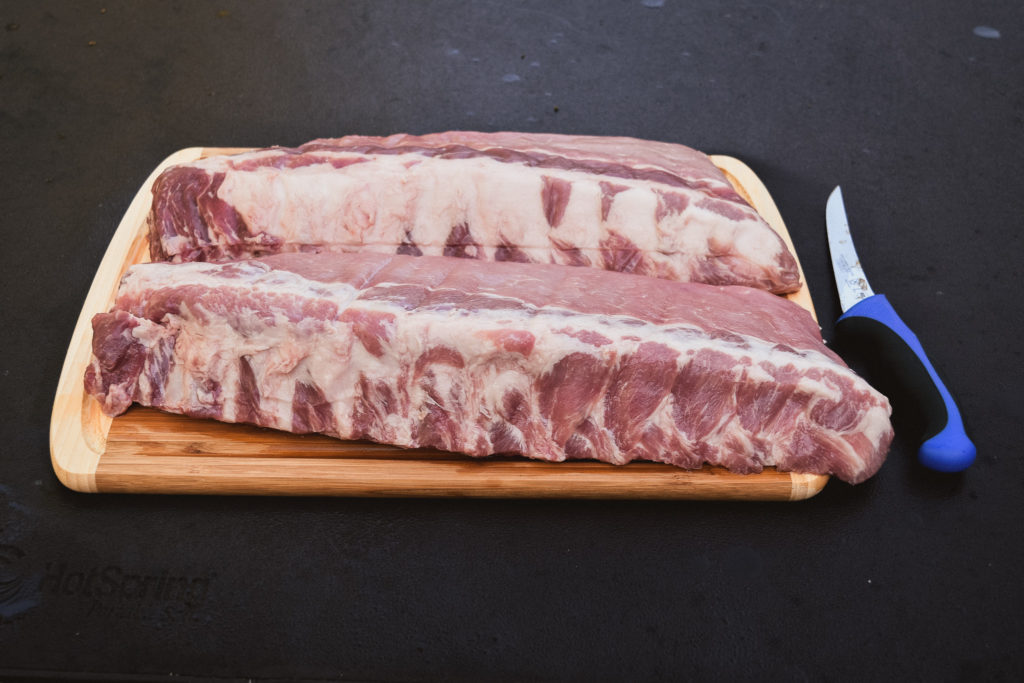
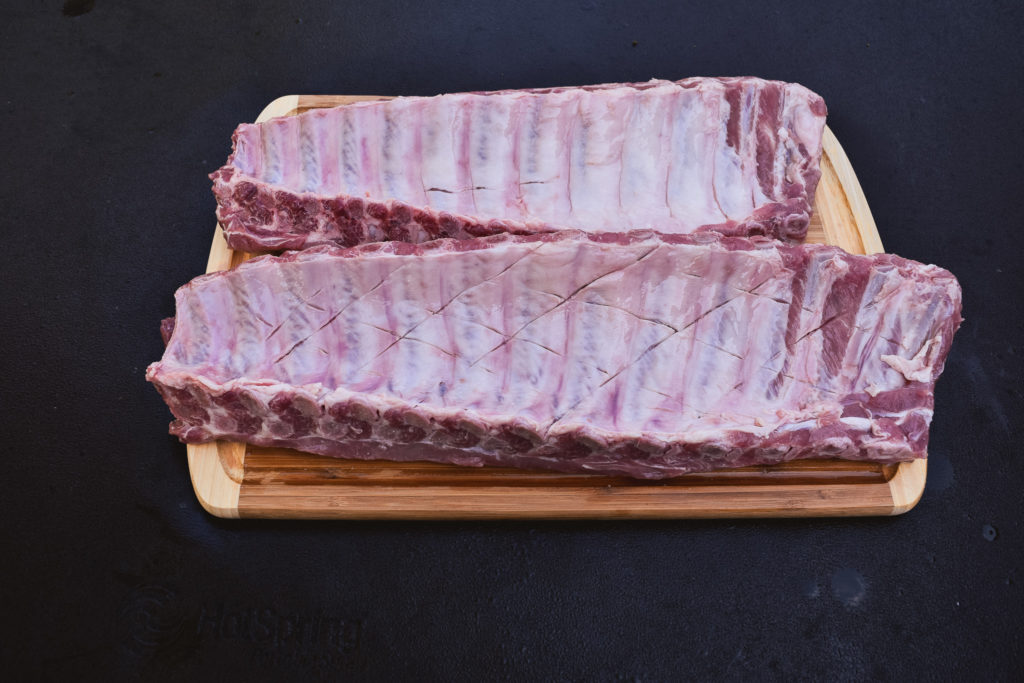
To start, I take the ribs and cut the back membrane into diamonds. I do this because peeling off the membrane is a pain, and when you score it, it doesn’t get the papery texture that you can get with leaving the membrane intact.
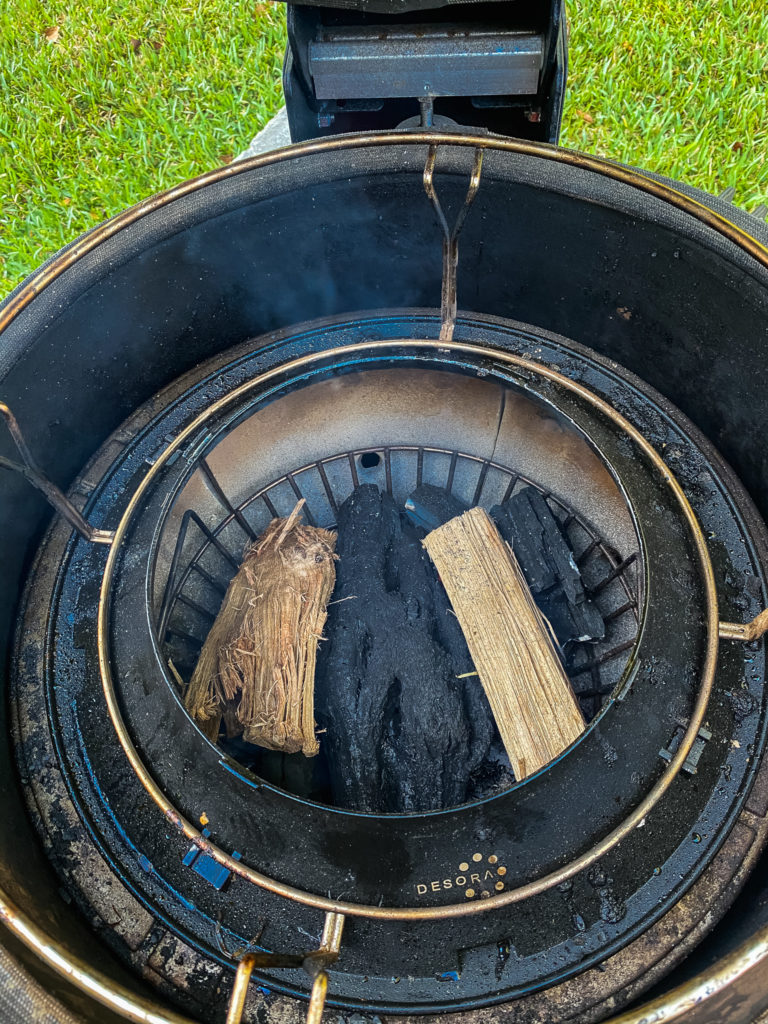
Before I get the ribs ready, I got my Kamado Joe going with some Fogo Ultra Premium Charcoal and used a couple of hickory logs. My goal temp for the first 3 hours is 225°. I set up my SloRoller and get it to get up to heat.
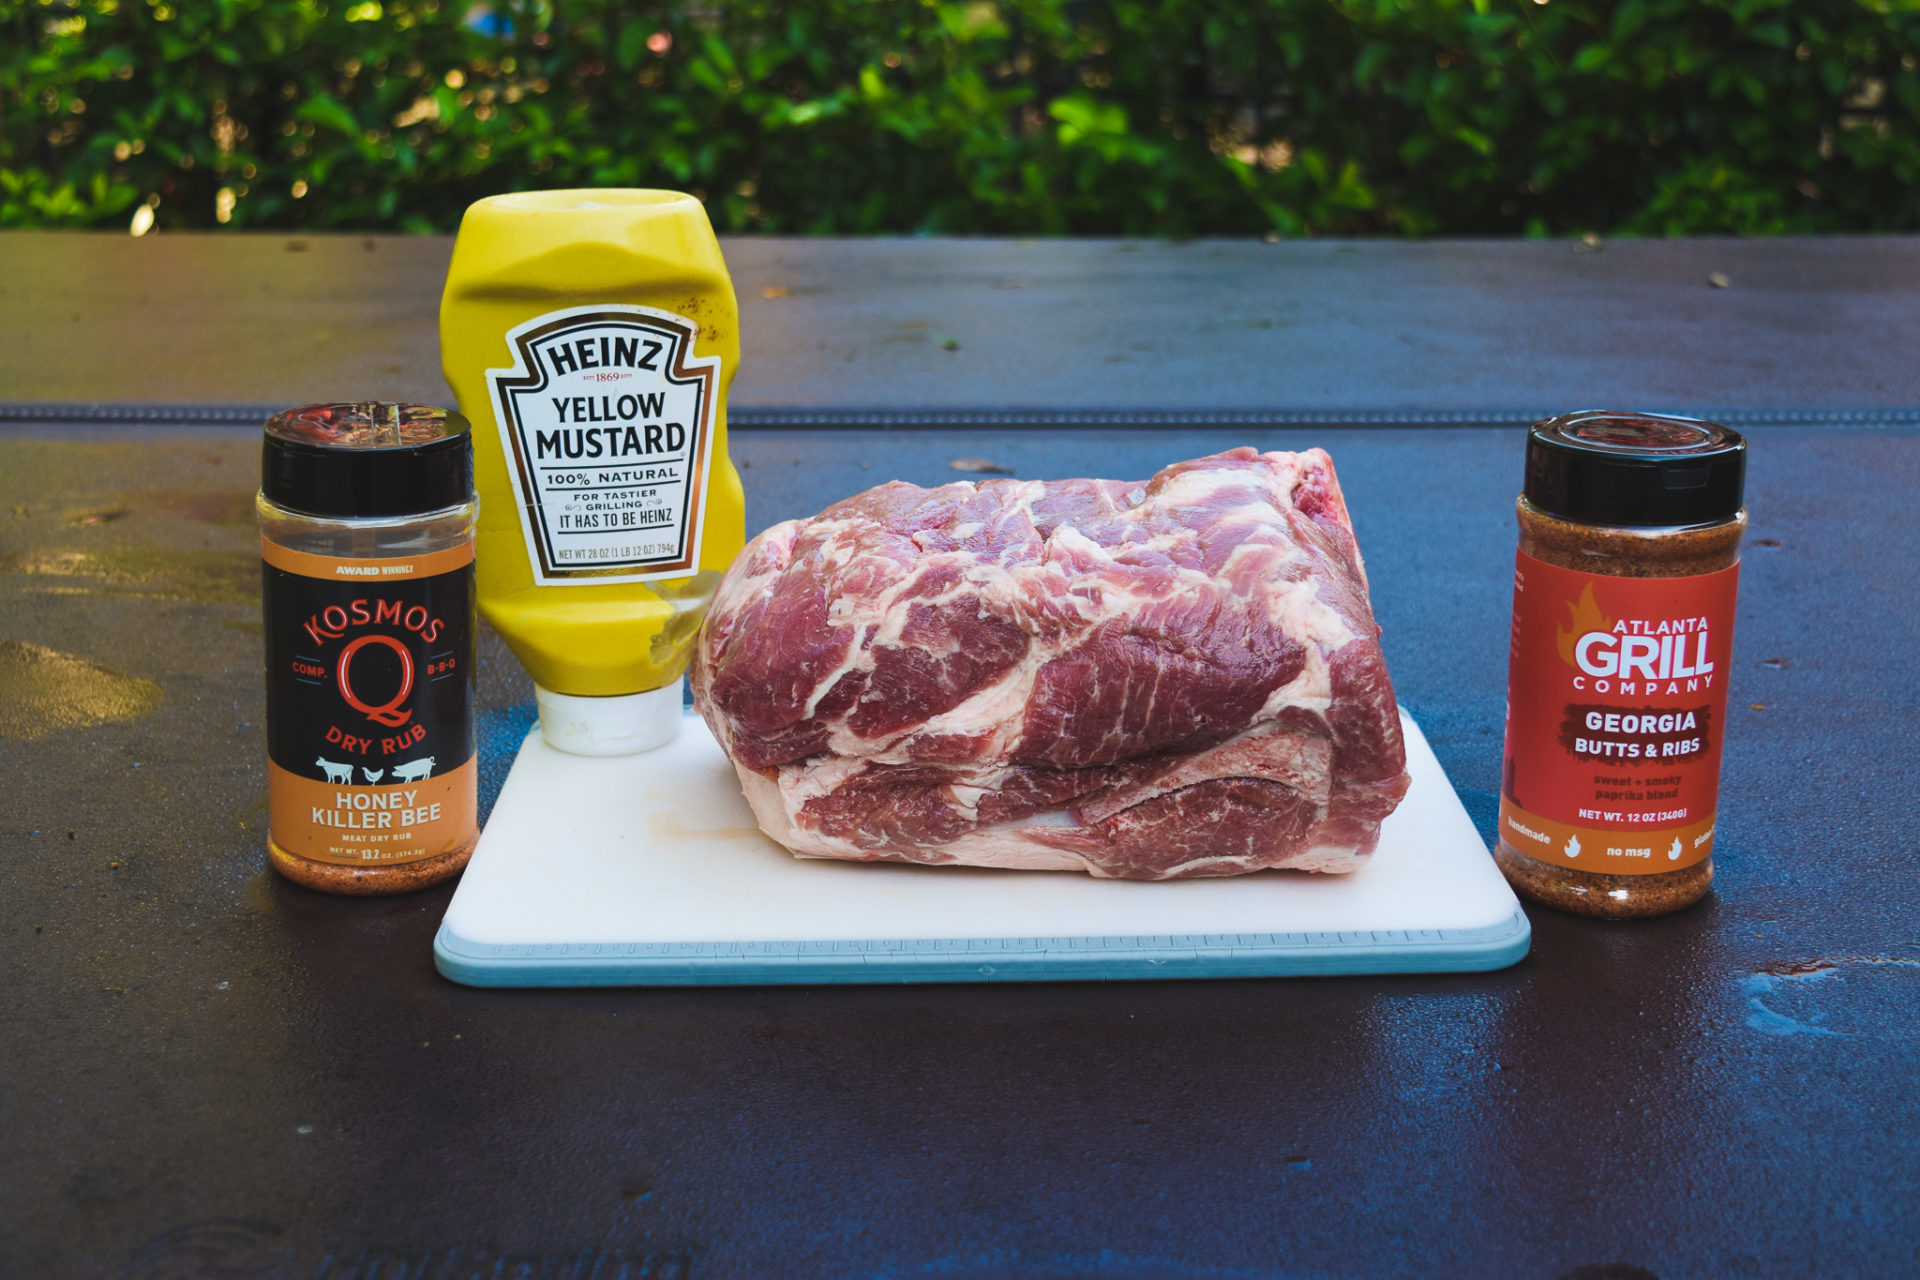
Next, I am lathering them with some yellow mustard on both sides and layer the seasoning on. On the membrane side, I only do one layer of my favorite seasoning. What I used for my first layer was Atlanta Grill Companies, “Georgia Butts & Ribs.” I then flip them to the meat side and repeat the first 2 steps. I add an extra layer of flavor by adding Grill Masters Applewood Rub. They are now ready for the grill!
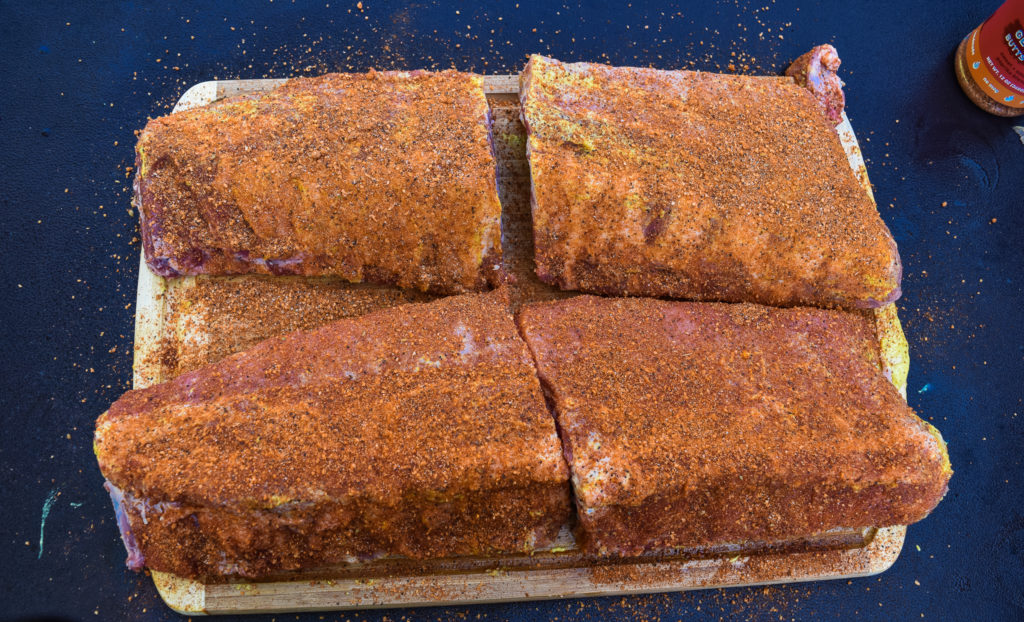
Where was doing two racks of ribs, I wanted to cut them into fours and use my rib rack. Honestly, it was to do this cook over again; I wouldn’t use the rib rack again for these Low and Slow Baby Back Ribs. It was tough to get the ribs not to touch each other. I feel like it affected my bark when it was time to take them out of the rack and sauce them.
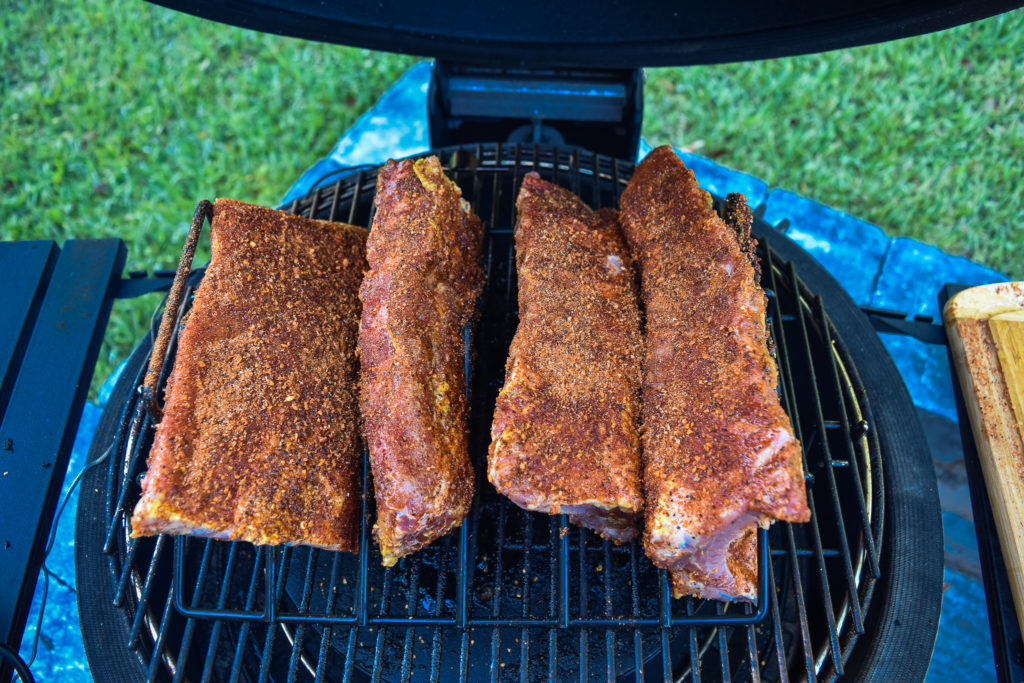
When I got them on the grill and got the Kamado Joe’s temperature up to 225°, I let them go about 2 hours without touching them. When I lifted the lid for the first time, I noticed a little drying out and scorching, so I used a Zep Spray Bottle filled with Apple Cider Vinegar and just sprayed them down. I did this every 45 minutes for the next two hours.
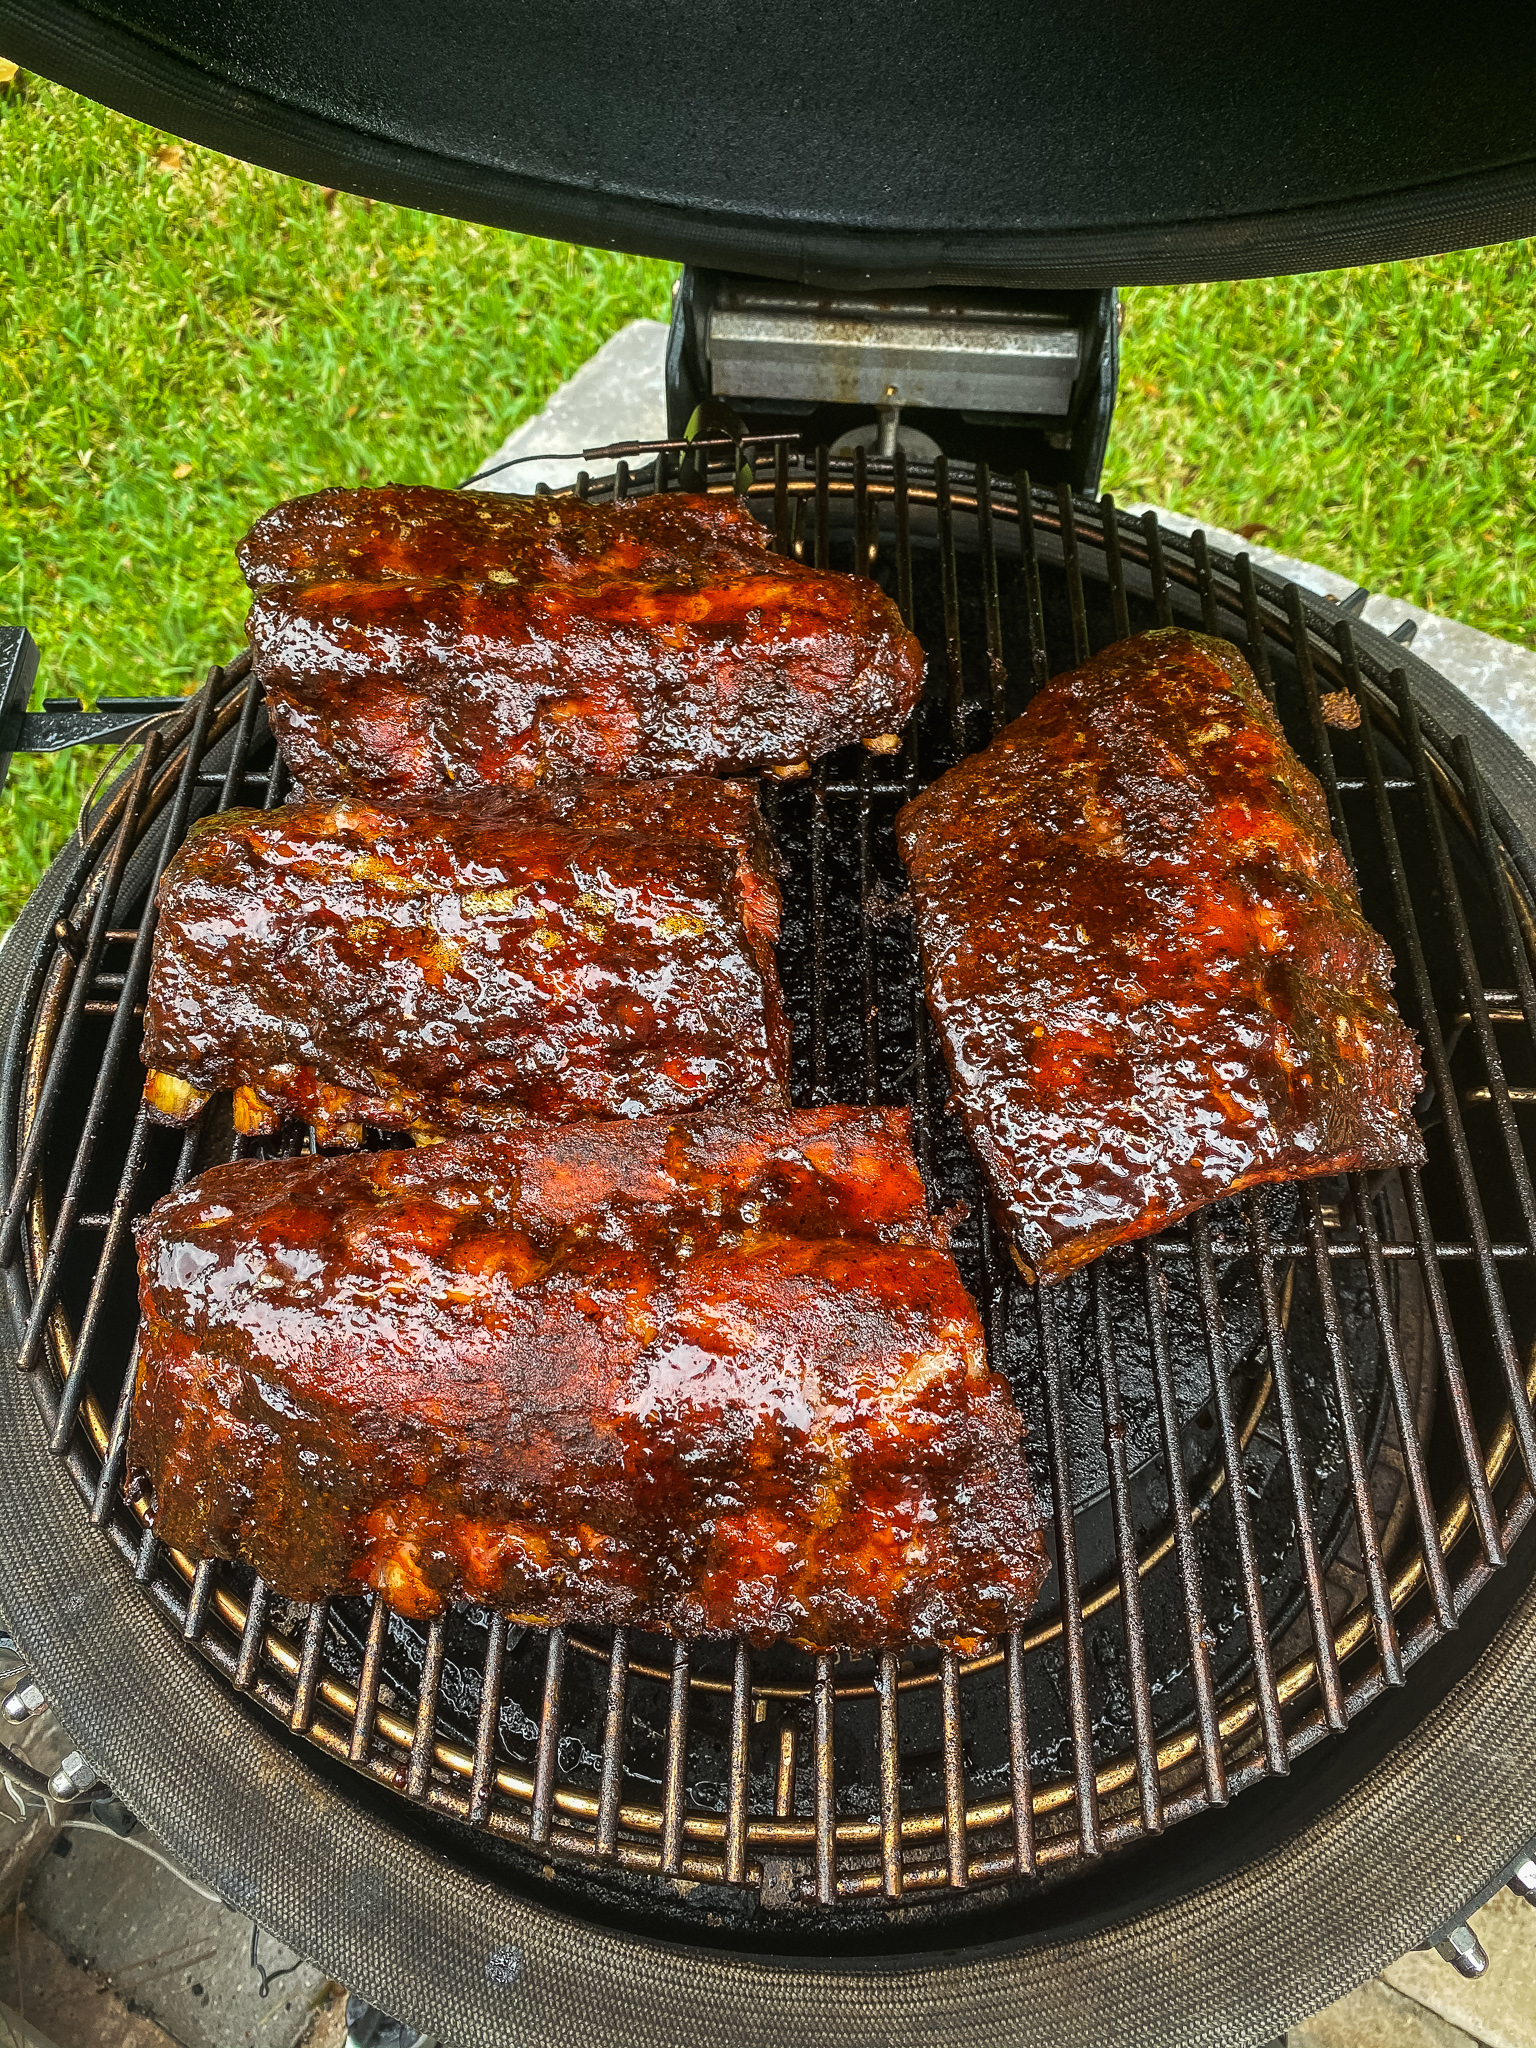
When I got to the fourth hour, I pulled the ribs off the rack, laid them directly on the grill, sauced them up, and bumped the temperature up to 250° for the cook’s remainder. This really helped the sauce sit and get nice and tacky.
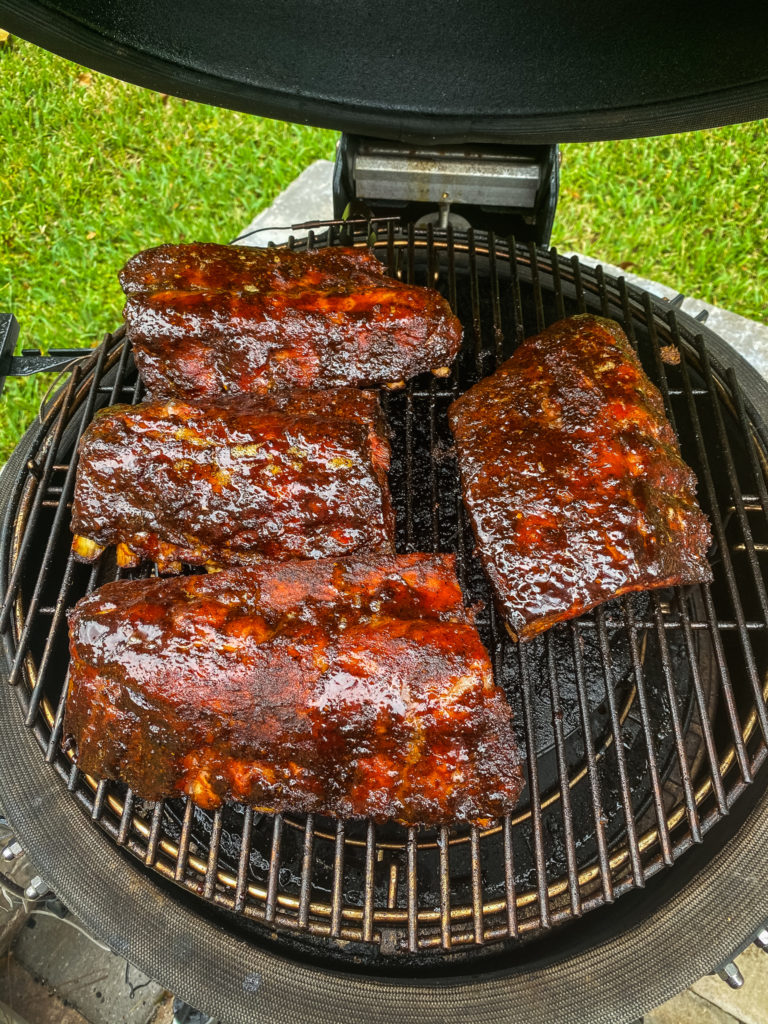
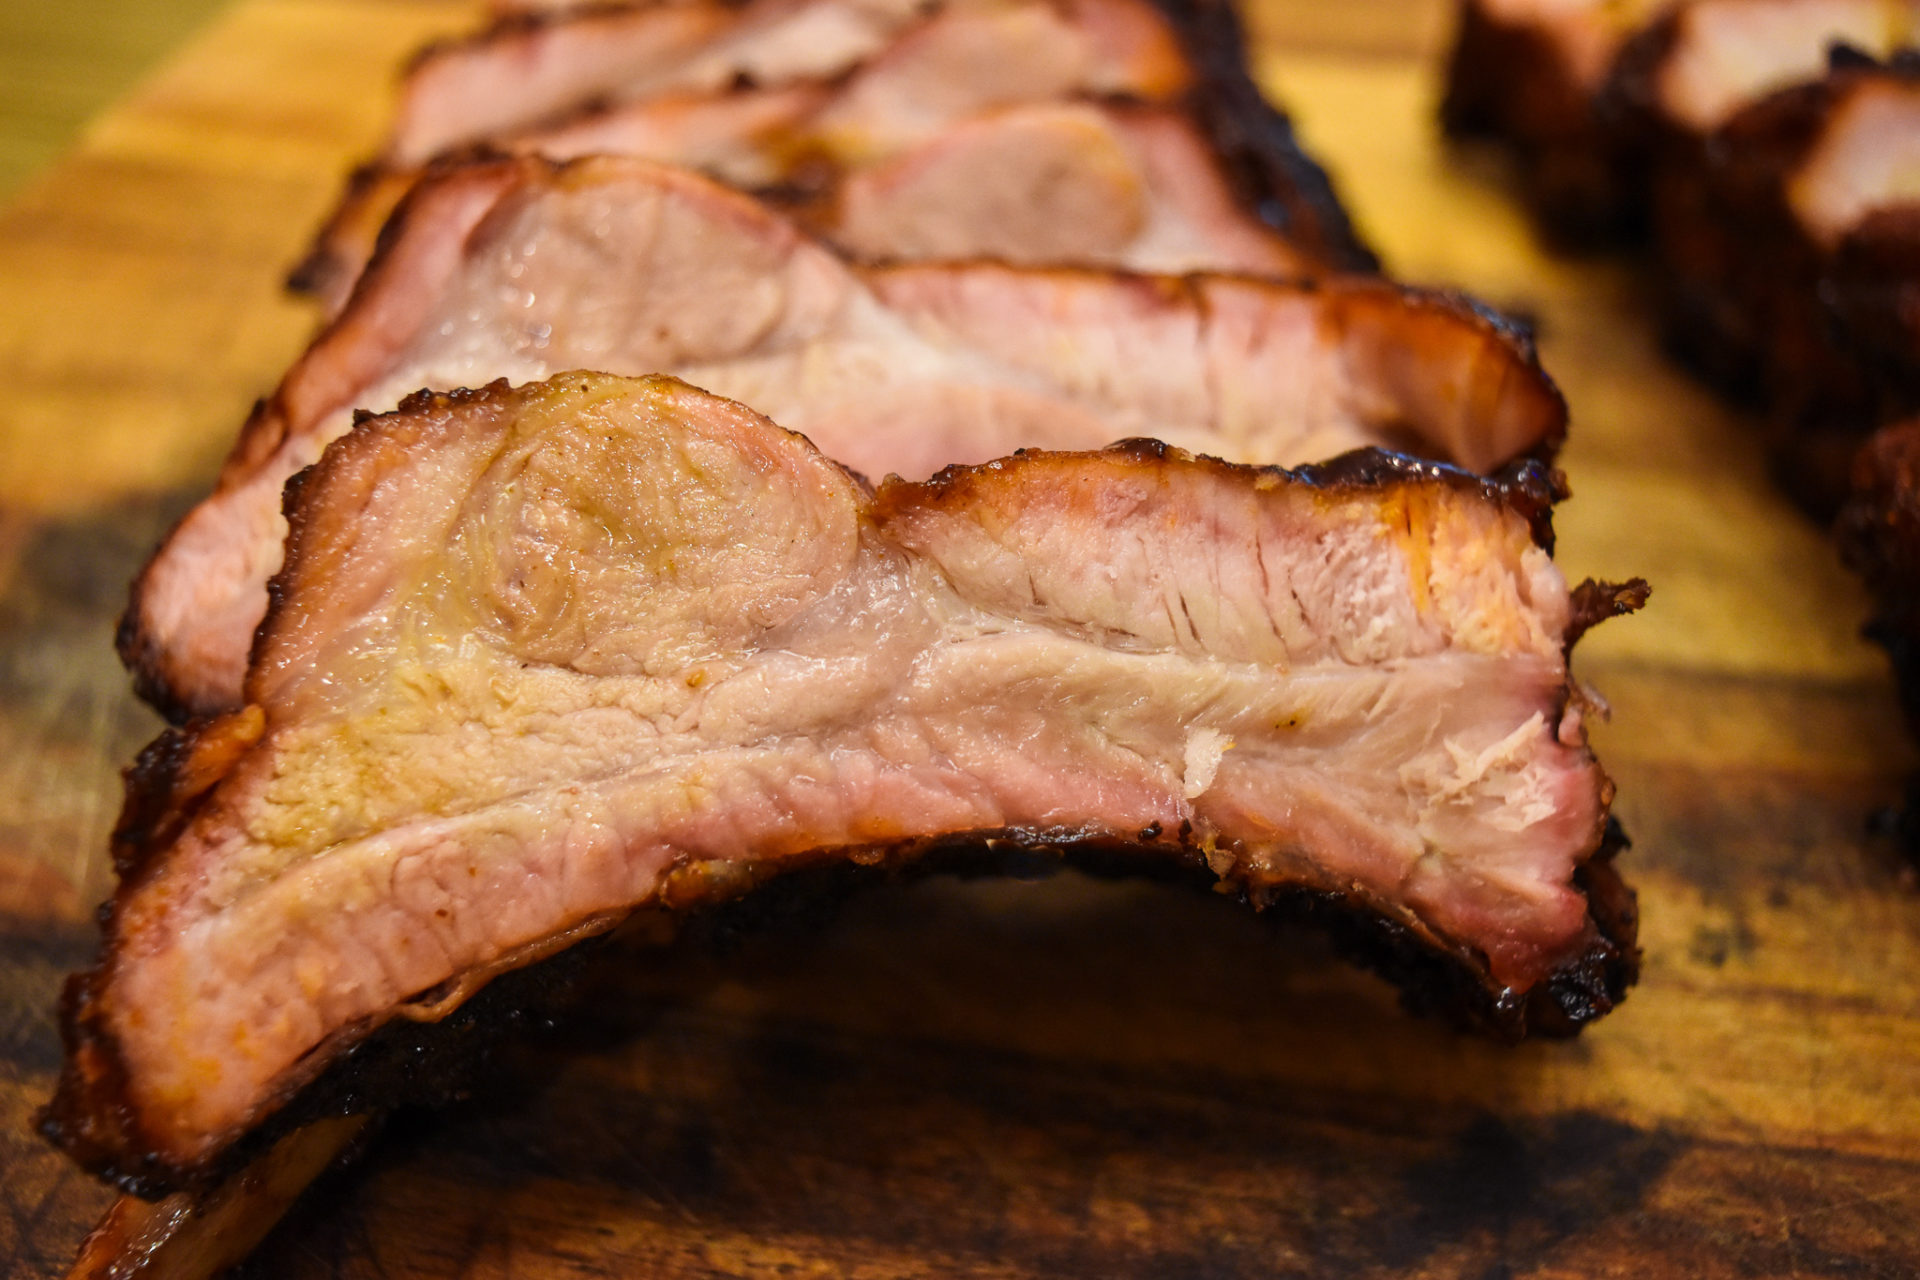
It was EXTREMELY hard to let these ribs go the final hour. It can be a fine balance between dry and moist ribs. I look for a pullback of 1/4 to 1/2 inch. Temperature I would need to guess, but I would say it’s somewhere in the 180° range. Next time I make them, I will check the temp of when I think they are done, and I will update this post. If you get them to go to 203°, you will get fall off the bone ribs or mushy ribs. Either way, they are not for me.
After pulling the ribs off of the grill, I let them rest for 10 minutes. This way, they have a chance to cool off a bit before I cut into them. I cut each rib individually. When I do this, it’s for one of two reasons. The reason one is that I’m cooking for a bunch of people, and I want them easy to grab without a bunch of hands all over them. Reason two is that I cooked way too many, and I plan on using my FoodSaver to vacuum seal and freeze the extras.
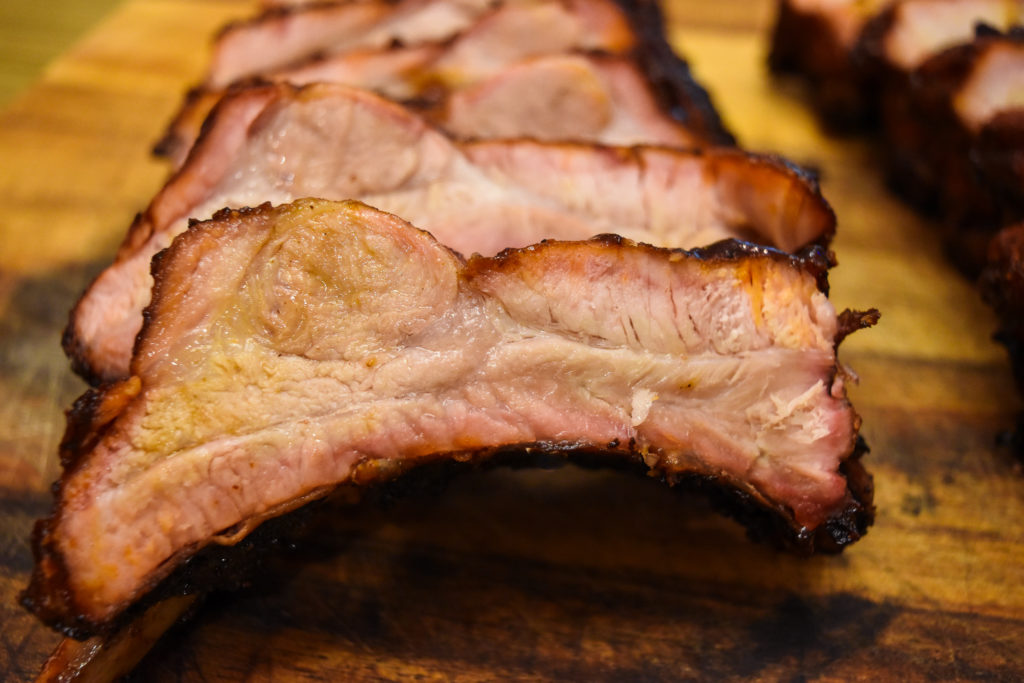
I have made a lot of ribs in my day. This is by far my favorite way I have done them. At some point, I plan on sharing my 2-2-1 recipe for ribs. That method will make them more fall off the bone without them becoming mushy,
Please let me know how you liked these ribs in the comments below. Feel free also to give me some tips if you think you could improve on my recipe. Also, remember you don’t have to use a Kamado Grill to get these results. This will work on a stick burner, pellet grill, or a kettle grill. I hope you enjoyed this recipe and until next time, “Smoke a little Smoke.”
Low and Slow Baby Back Ribs
Ingredients
- 1 Rack of Baby Back Ribs
- 1/4 Cup of Yellow Mustard
- 2 Types of your Favorite Seasoning
- Apple Cider Vinegar in a Spray Bottle
- 1 Cup of your Favorite BBQ Sauce
Instructions
- Get your smoker of choice's temp up to 225°
- Prepare your ribs by diamond, cutting the membrane on the back of the ribs.
- Lather membrane side with yellow mustard and season with your favorite of the two seasonings
- Flip ribs to the meat side and lather with mustard; spread your favorite seasoning over the ribs 1st, and then do a second coat with the other seasoning.
- Place ribs on the smoker and let smoke for 2 hours without checking them
- At the two-hour mark check and see if there are any black areas where it's drying out. If there is spray some Apple Cider Vinegar over those areas and let smoke for another for 45 minutes and check again.
- If you keep seeing drying check your ribs every 30-45 minutes and spray them so they don't dry out.
- At the 4 hours mark, sauce your ribs, adjust your smoker to 250°, and let the sauce get tacky over the next hour.
- After an hour, if you have the meat pulled back 1/4 to 1/2 inch, your ribs are done.
- Take the ribs off the smoker and rest for ten minutes.
- Cut each rib individually and enjoy it!





No Comments